Whether you've just done your first yoga class or are casually stalking superstar yogis on instagram, it's likely that the headstand is on your list of long term yoga goals.
It's not easy at first, but a supported headstand is probably the most accessible of all the yoga inversions. It's a great stepping stone on the road towards forearm balances and handstands.
The good news is that with plenty practice and patience, it is certainly very achievable.
The key is to not rush into such poses straight away. Yoga is a lifelong practice so just enjoy the journey, no matter how slow your progress can sometimes seem.
Appreciate what you are able to do right now. Build a strong foundation, then if you practice consistently your strength will increase and you will begin to notice improvements.
You may sometimes end up in some bizarre interesting shapes, and that's why inversions are so much fun. You can tap into a really playful place, release your inner child and literally turn that frown upside down!

BEFORE YOU BEGIN
Consider your hairstyle, to avoid your topknot being in an awkward position that may affect your balance or pull on your scalp.
Check your point of contact. The very top, flattest part of your head wants to be in contact with your mat. You can check this by balancing a block or a book on top of your head.
Wherever your head is touching the block is the part that should touch the floor when you're upside down.
LAYING THE FOUNDATIONS
To help you feel confident and stay upright, you may wish to make use of our very stable buddy, Paul the Wall! Alternatively practice the 'falling with style' technique away from the wall, by simply curling into a little ball and roly polying out of there!
READY TO GO?
Step 1
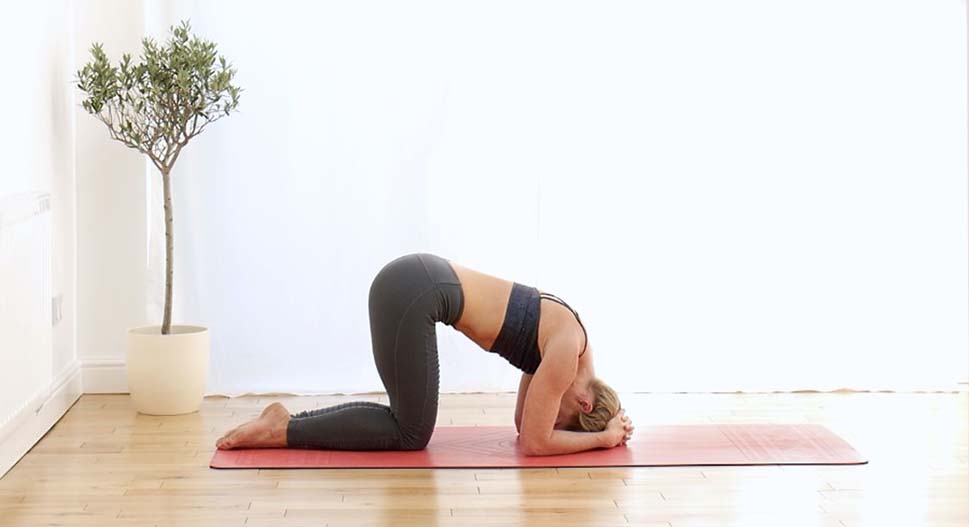
Start on all fours and lower the elbows directly below the shoulders. Double check the alignment of your arms by clasping your elbows with your fingers.
Step 2
Interlace your fingers and place your hands on your mat with your knuckles almost touching the wall. Next place the top of your head onto the mat, cradling the crown of your head with your hands.
Just take a moment here to get comfortable. Get used to putting a little weight on the top of the head.
Step 3
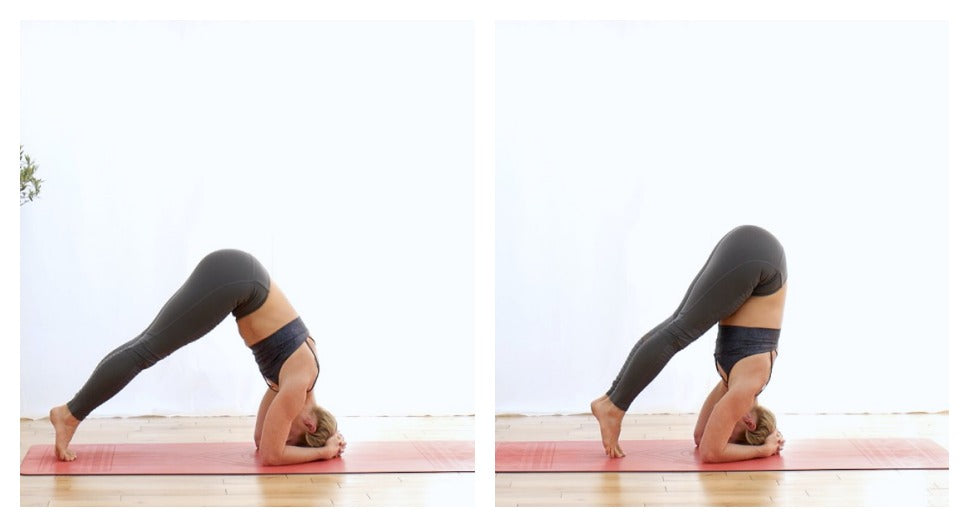
Walk the toes in towards the face, trying to get the hips as high up as you can over the shoulders.
Step 4
Before you go anywhere else, take a strong push down into your forearms and broaden your upper back. Get used to using your arms to support most of the body weight, as it will stop the top of your head getting squished and creates a lightness once you're upside down.
Ideally take all or 90% of the body weight onto the arms. The head should only very lightly touch the floor. If this position is enough, then try to stay here for a bit to build strength.
Step 5
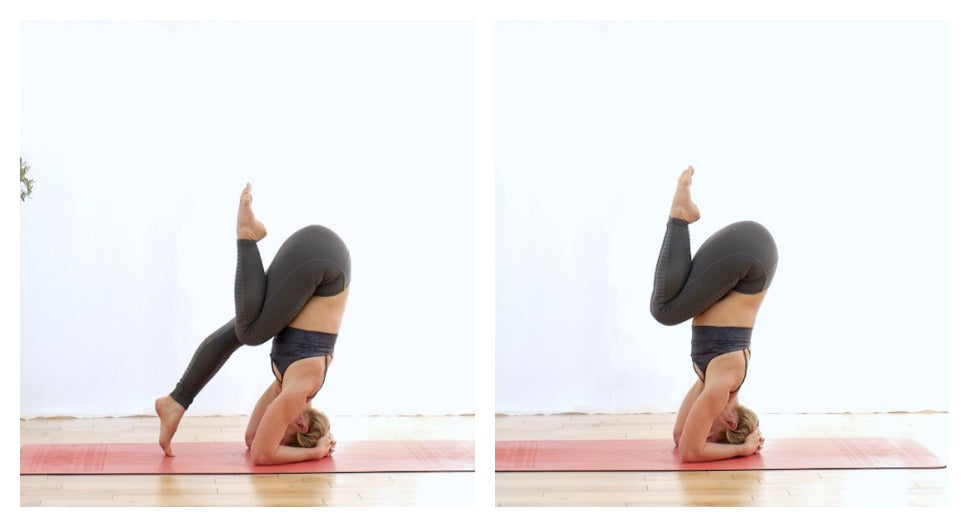
If you want more, bring one knee into the chest and hang out here, breathing deeply. Then switch legs, keeping your abs strong and engaged.
Step 6
If you're feeling ready, maybe bring both knees into the chest, and your heels towards your butt.
Don't just wildly jump into this, as the chances of you catching that balance point are pretty slim. A tiny hop may be ok to gain momentum, but don't get carried away and end up jumping through the wall!
If you haven't got the strength or shoulder flexibility to take your legs of the ground in a slow and controlled way, your body may not be ready for the full pose yet. It doesn't have to happen overnight, just keep practicing.
Step 7
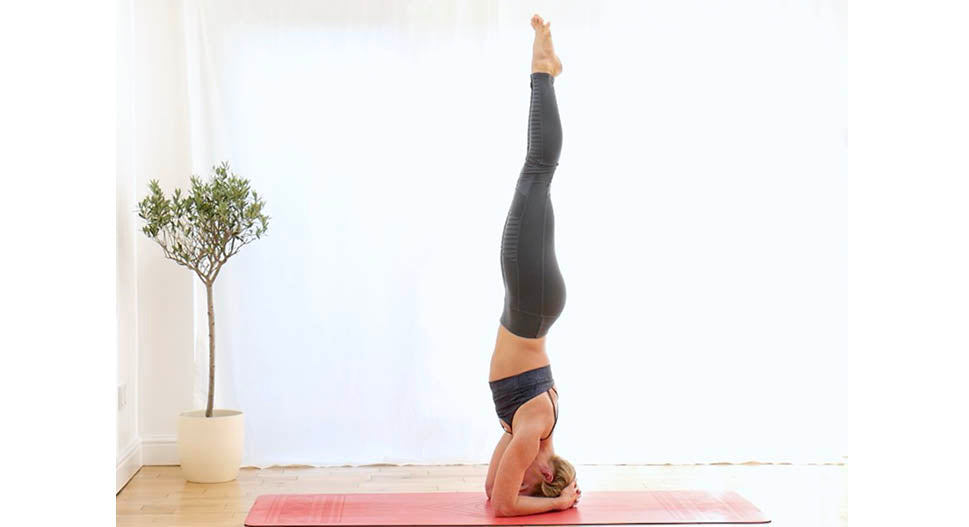
Begin to reach up through the balls of the feet, keeping your knees and ankles superglued together. Keep engaging that core to ensure controlled alignment!
ONCE YOU ARE IN A HEADSTAND:
-
Think about bringing length and strength to the posture. Trying to find that sweet spot; that center of gravity where the structure of the posture supports itself and the effort is minimal.
-
You want a straight line throughout the body - from the ankles, through the thighs, hips, ribs, shoulders and ears.
-
Reach up through the feet, spread the toes, squeezing your inner thighs.
-
Lengthen your tailbone up towards the sky. Draw your belly button strongly in towards your spine, especially if your legs are feeling wobbly. If your ribs try to poof out, tuck them in.
-
Breathe slowly and calmly.
-
Don't let the elbows go too wide, you will lose stability. Widen your shoulder blades and lift them towards the waist. You want to keep lots of distance between your ears and shoulders to release the neck muscles.
- If you feel any discomfort in the neck, come down.
EXIT STRATEGY
To come out, reverse the way in. Bend the knees towards the chest. Slowly lower one foot at a time.
Always take a child's pose immediately after a headstand (and in between multiple attempts). All the blood will be in your head. If you bounce straight from upside down to downside up, chances are you will feel a little woozy!
The wall is a great tool to help you get a feel for the posture but don't become too dependent on it. As soon as you gain a little confidence, bring your headstand away from the wall. That's when you learn control.
If at first you don't succeed, keep trying. Again and again and again. You may fall down a hundred times and that's ok, it's how we learn! Every time you fall your body gains a muscle memory of what not to do next time.
You will soon discover that going upside down is not just about arm strength. It requires core strength, leg strength, shoulder strength... it's using your entire body!
A regular headstand practice will improve arm, upper body and core strength, toning and tightening those muscles.
Gradually build up the time you spend in a headstand. The longer you hold it, the more therapeutic it becomes. Being upside down purifies the blood, heart and lungs, to make everything work more efficiently.
It's also great for your skin, as all the blood rushes to your head to stimulate the brain and give you that lovely 'yoga glow'!
So next time you're feeling sluggish and you need an energy boost, just flip it! Find a nice quiet corner in the office and have some upside-down time. I'm sure no one will notice!
Happy Headstanding!
Contraindications
- Remember if you have glaucoma or very high blood pressure, it's best to avoid headstands.
- For those with neck, shoulder or wrist injuries, proceed with caution.
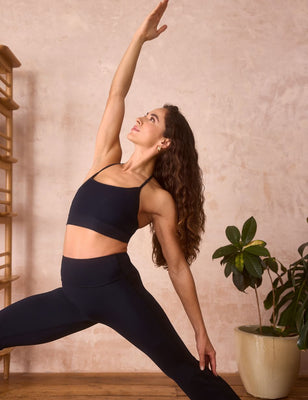
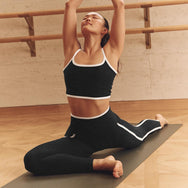
Tamara wears Alo Yoga from The Sports Edit. Follow her yogi journey on instagram @tammyrara.

