


Words by Tamara Jones (@tammyrara)
Nailing the splits is on most yogi’s “To Do” list, but it’s a challenging pose that won’t just magically happen overnight. It takes time and LOTS of practice! For most of us, splits is a lifelong journey, so the sooner you get started, the better.
I’m going to share my top tips and seven of my favourite poses that will help you on your way. Remember to move slowly, breathe deeply and have fun!
PATIENCE YOUNG GRASSHOPPER!
If your hips and hamstrings are tight, making this particular shape can feel pretty awkward. The most important thing is to be patient. If you are committed and consistent your flexibility will gradually improve.
Don’t rush your body and overstretch. If you just yank yourself into a position you will end up injured. If you find you’re not progressing as quickly as you’d like, practice more often.
Everybody’s version of this pose if going to look different and thats ok. You don’t have to be a ballerina or an olympic gymnast to do the splits. You don’t even have to get the pelvis anywhere near the ground to get all the wonderful stretchy benefits from the pose.
DON'T FORGET TO BREATHE
The slower and deeper you breathe the calmer you will feel and the more open your muscles will become. If you hold your breath or breathe too quickly it’s counterproductive. Your muscles will be tense and you run the risk of injury.
Your breathing is an invaluable tool you can use to help with these postures. Once you find the shape of the pose, bring your focus back to the breathing.
ALWAYS WARM UP FIRST
Start with a few sun salutations or any other activity that will get your heart pumping and warm your muscles. Start by aiming for 5 slow deep breaths in each pose and gradually build up to holding them longer.
MY SEVEN STEPS…
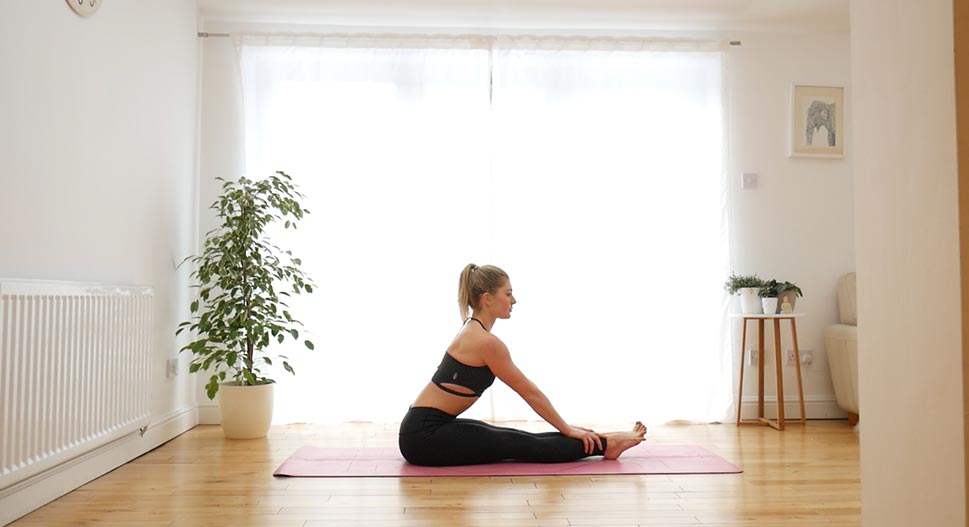
- Forward fold
This is a relaxing stretch that will lengthen the lower back as well as stretching both hamstrings at the same time.
From a seated position extend the legs out in front of you with the feet together. Take a deep breath in through the nose as you reach your arms up overhead to create length in your spine. As you exhale, fold forwards, place the hands on the legs or take hold of the sides of the feet.
Don’t go so far forwards that the back rounds. Activate your feet by reaching the balls of the feet away from you and tucking the toes back towards you.
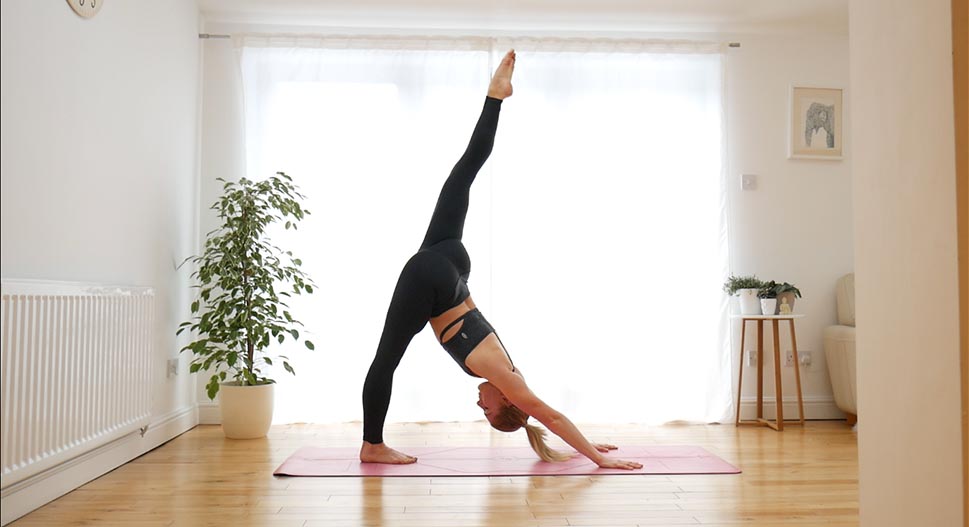
- Three Legged Dog
From Downward Facing Dog raise the right leg in the air. It doesn’t matter how high it goes, as far as feels comfortable. Be aware of your alignment. Double check that the top leg is straight, that you are pressing equally into both hands and that the hips are in line with each other.
Try to keep the arms and back in one straight line. You can bend the standing leg slightly and lift that heel if you need to.
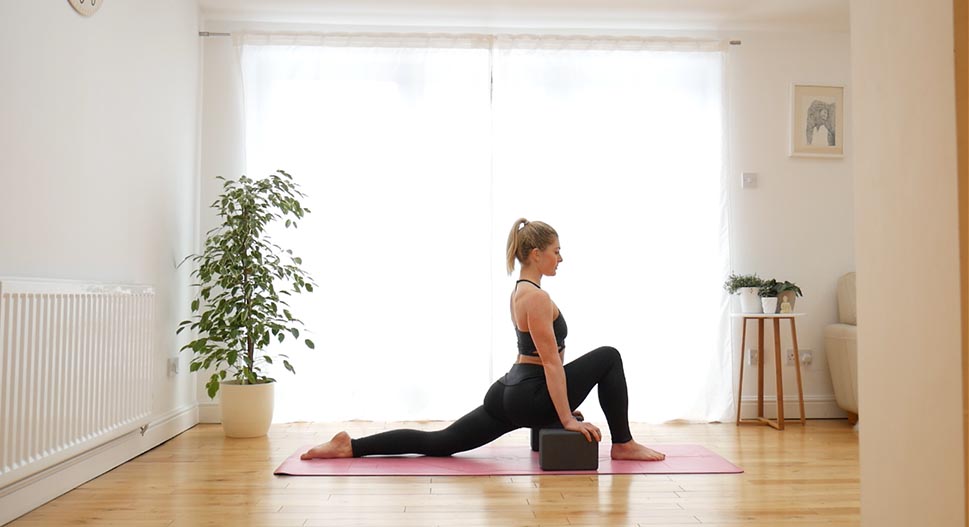
- Low lunge
This is a great pose to open up your hip flexors and quad muscles.
From Three Legged Dog step the right foot foot between the hands. Bend your front knee, checking it is directly above the ankle and lift your chest.
You have the option to place a block under each hand if you feel you are collapsing onto the front leg. Drop the back thigh and hipbone down towards the ground.
If you are still happy here after 5 breaths, try increasing the intensity with an optional quad stretch. Bend the back knee, take hold of the foot and move it towards your bum. If you can’t reach, you can use a strap.
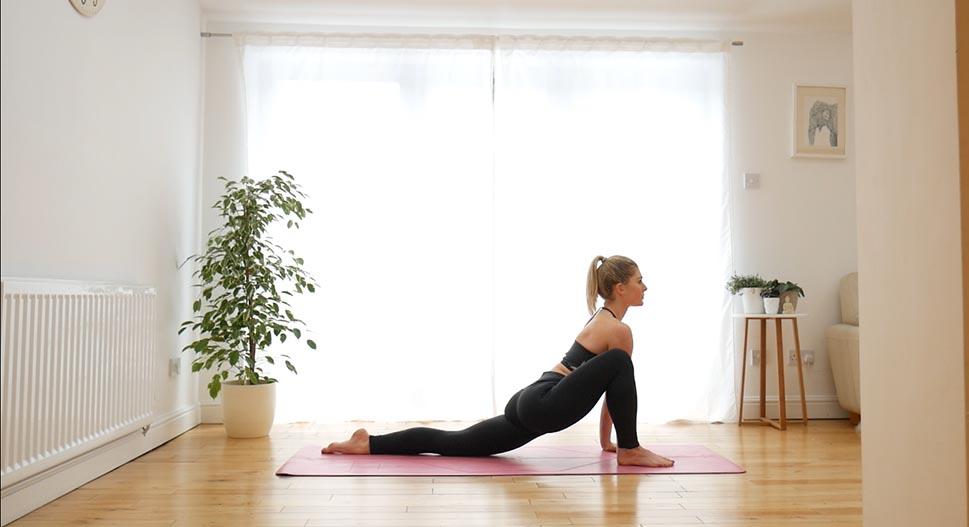
- Lizard Lunge
Similar to a low lunge except both hands are to the inside of the front foot so it takes the stretch more into the outer hip.
Bring you right foot to the outside of your right hand with your knee bent directly over the ankle. I like to keep my back knee lifted for a few breaths, gently rocking to encourage a little space in the surrounding muscles. When you’re ready, place the back knee down and untuck the toes. Look ahead, not down. Move the chest forward to maintain the length in the spine.
Warning - this is intense! Do your best to relax.
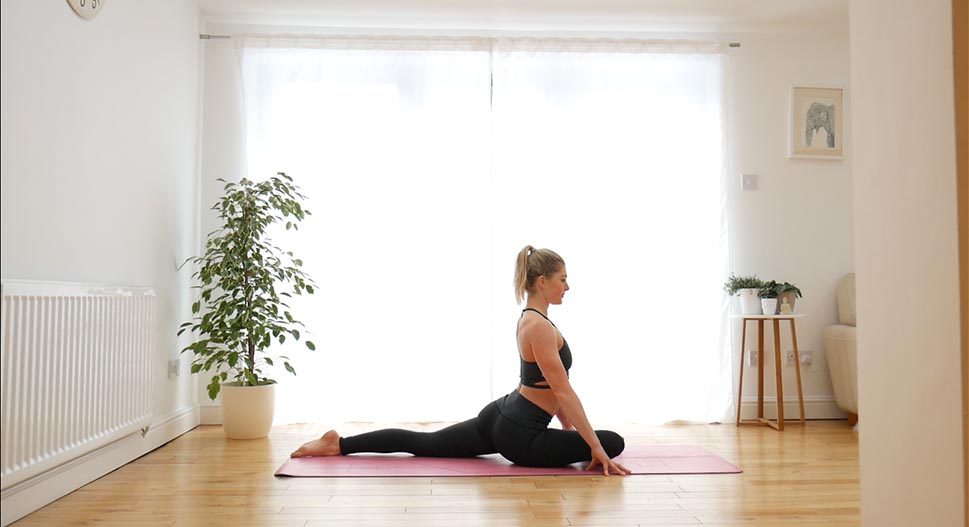
- Pigeon pose
Bring your right knee to the ground between the hands with your right toes pointing towards you and lengthen your back leg down the mat. You want to keep the hips in line with each other so avoid collapsing too much onto one side.
Adjust slightly depending on your flexibility. You can place blocks under the hands or prop one butt cheek up with a towel or block to level out the hips if necessary.
For a stronger stretch, (if you’re able to get the bum down with the hips still level) try wiggling your front foot forward, flexing the foot, eventually working towards having the shin parallel with the front edge of your mat.
If your hips are tight, pigeon pose can hurt like a BEEP but it’s soooo good for you. If it feels super uncomfortable, thats an indicator that you need to do this stretch more frequently. Take it nice and slow though!
You want to feel a stretching sensation in the hip. If you feel a pain in the knee its a bad sign, so back off until the pain goes away.
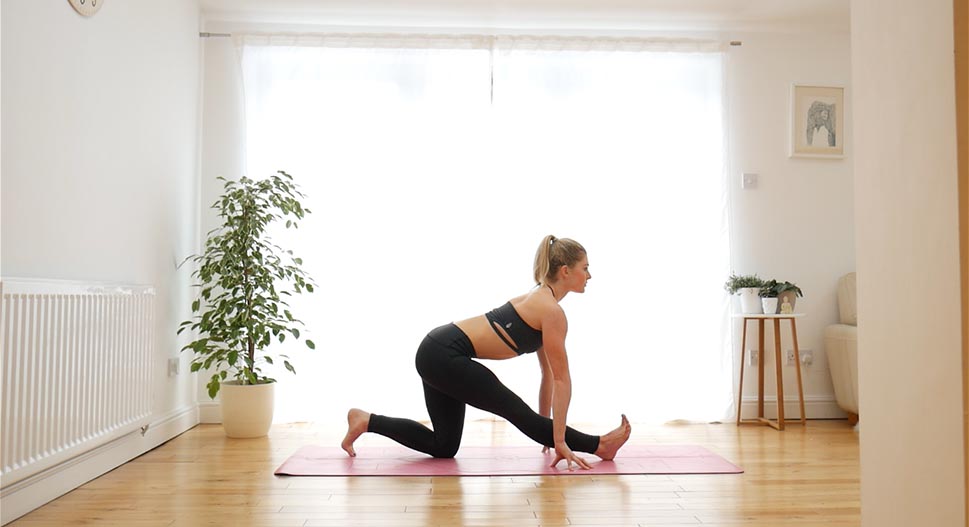
- Half splits
This is a deep stretch that focuses on lengthening the hamstrings one at a time.
From a low lunge tuck your back toes under, move your bum towards the back heel as
you straighten your front leg and tuck the front toes back towards you.
Lift the chest and lengthen the torso forwards. Check your hips are in line and the front foot is active.
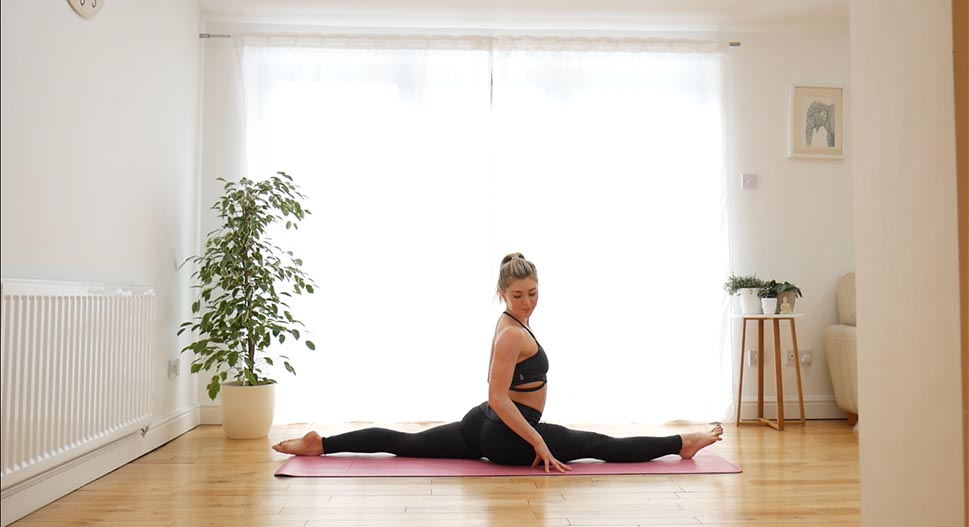
- Full splits
From half splits, lift the back knee and wiggle the back foot closer to the back of the mat. Then wiggle the front foot a little further forwards. See how that feels. If it feels really uncomfortable, relax and try to stay there for a few breaths. If it feels ok, wiggle the feet even further apart until you reach your edge. Then soften, relax and breathe into it.
Try keeping the back toe tucked under to encourage hips to square.
This can be pretty uncomfortable so build it up gradually and don’t forget to have fun!
FINALLY... THINK HAPPY THOUGHTS
The sensations that come up are not alway the most pleasant! Do your best to keep a positive mindset. Even if a pose doesn’t feel so good, just pretend that it does! Who knows you may be able to trick yourself into actually enjoying it!
Don’t worry about how close you can get to the floor. It’s good to have a goal but its also important to be happy with the amazing things that your body can already achieve. Little by little you will begin to notice progress, enjoy the journey.
Don’t take it too seriously. Remember its only yoga and even when you do reach your goal and finally touch down, it doesn’t mean that your life is complete! The goalposts will always move. There is always a progression or a next step and thats the beauty of yoga, its never ending. You will celebrate for a little while and then you will most likely move on to the next crazy yoga pose you are desperate to master! That’s what motivates you to keep coming back to your mat.
NEXT UP


